4 Simple Steps for Repairing Water Damaged Drywall
websitebuilder • March 27, 2020

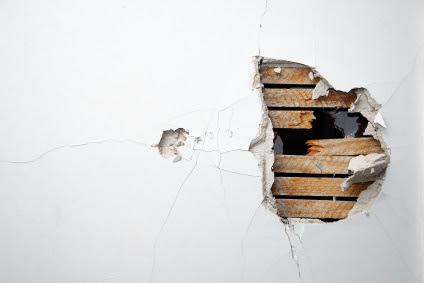
Whether from busted plumbing pipes or a leaky roof, you are likely to face water-damaged drywall at some point in the future. While calling a professional is always an option, you can also choose to take on minor water damage repair as a DIY project. Here is a simple four-step method that any homeowner can use to repair or replace water damaged drywall.
1. Repair the Leak
The first and most important step for any water damage repair is to stop the source of the problem. While this is obvious for large leaks, it can be tempting to put it off or downplay the effects if the leak is small. You may even want to repair the damage and move on. No matter what size the leak is, however, your repairs will be in vain if you do not repair the leak first, as you will eventually be faced with the same problem of water damaged drywall.
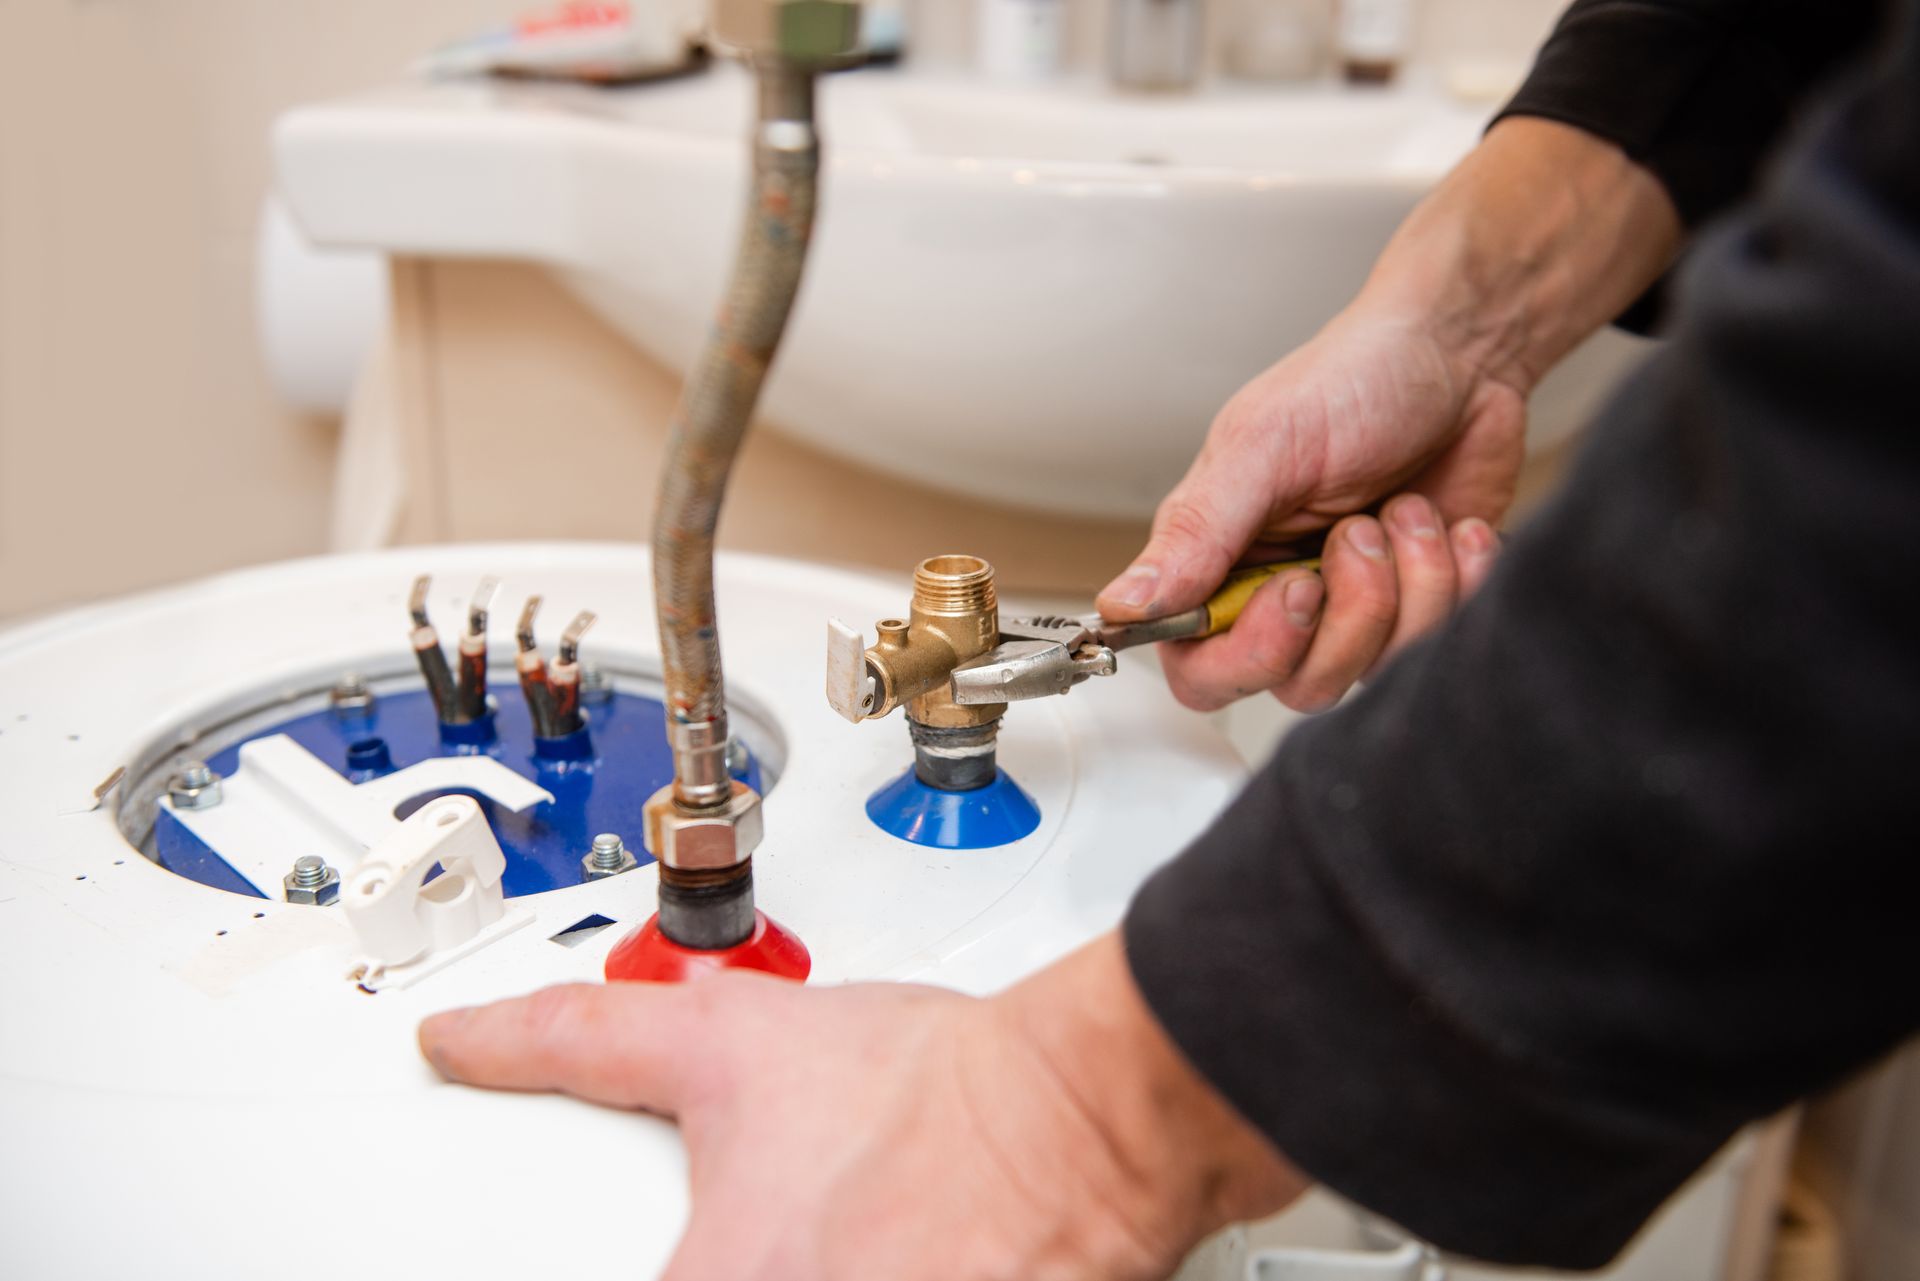
Cutting a hole about six square inches in your drywall in the spot with water damage will often reveal the leaking section of pipe. To repair the leak, you will first need to turn your water off and cut out the damaged section of pipe.
Install the new piece of pipe in accordance with the best method for the type of pipe you have. Exercise caution when choosing repair methods, as there can be come "Easy DIY-type fittings" that are not recommended for use behind drywall or in inaccessible areas. The Aurora Plumbing experts can help you find the best method for repair. Once repaired with quality pipe and fittings, turn the water back on and check for leaks before patching the drywall.
2. Replace Sagging Drywall
Drywall is very porous, and prolonged exposure to moisture can cause it to lose its structural integrity very quickly. While replacing cracked drywall is a given, you must also accept that you cannot salvage drywall that is blistered or sagging. Use a level tool to find any sections of drywall that are off plumb and replace them with a new piece.
Before you place the new piece of drywall, however, you need to make sure that the insulation and studs behind the cut piece are completely dry. Even if the source of the leak has been stopped, the new piece of drywall can become damaged if it is resting against moisture when it is installed. If necessary, allow the inner wall to dry out for a few days before installing the new piece of drywall.
3. Get Rid of Mold
The porous nature of moist drywall makes it an excellent environment for mold growth. If the drywall is still structurally sound but has been infested with mold, you need to kill the mold by scrubbing the drywall. A diluted bleach solution will kill mold without causing damage to the drywall.
The chlorine bleach should remove all traces of mold within one to two days, and may also remove minor water stains on the wall. If there are still some visible stains, the next step is to sand and paint the wall.
4. Cover Water Stains
To cover water stains in drywall, begin by using a paint scraper to remove loose and peeling paint. Next, start sanding the wall with medium-grit sandpaper, and sand with progressively smaller grit until the surface is smooth. You can then prime and paint the surface of the drywall when it is free of imperfections.
Repairing drywall with minor water damage is not a difficult task, and is a project that almost any homeowner should be able to complete with a little research and patience.
However, you should also be able to recognize severe water damage that is beyond the scope of a DIY project so that you know when to call a professional. Contact us at Aurora Plumbing and Electric for all your plumbing repair and restoration needs.


